Monday, April 9, 2012

Lemons and Blueberries Make My Heart Sing!


There's just something about lemons and blueberries mixed together that make me happy! Maybe it's the vibrant colors or the way the flavors dance around on my palate, but I can't get enough of these two. Anytime I find a recipe for this delightful duo, I've got to try it.  Hence this 3 layer cake....

It's a LOT of work, but well worth it, so here we go...

THE CAKE

2 cups plus 6 tbsp flour
2 tsp baking powder
1 tsp salt

Sift all together and set aside

In a small bowl, mix....
1/2 cup sour cream
1/2 cup whole milk
2 tsp vanilla extract
3/4 tsp pure lemon extract
1 tsp lemon zest
Three cups of fresh blueberries tossed with 1 tbsp of the flour mixture                        
Fresh lemon zest

THE CURD

6 large egg yolks, separated
Zest of one lemon
1/2 cup of lemon juice
3/4 cup of sugar
1 stick of butter, cold, cut into pieces

Fresh lemon juice and zest
Cooking the lemon curd

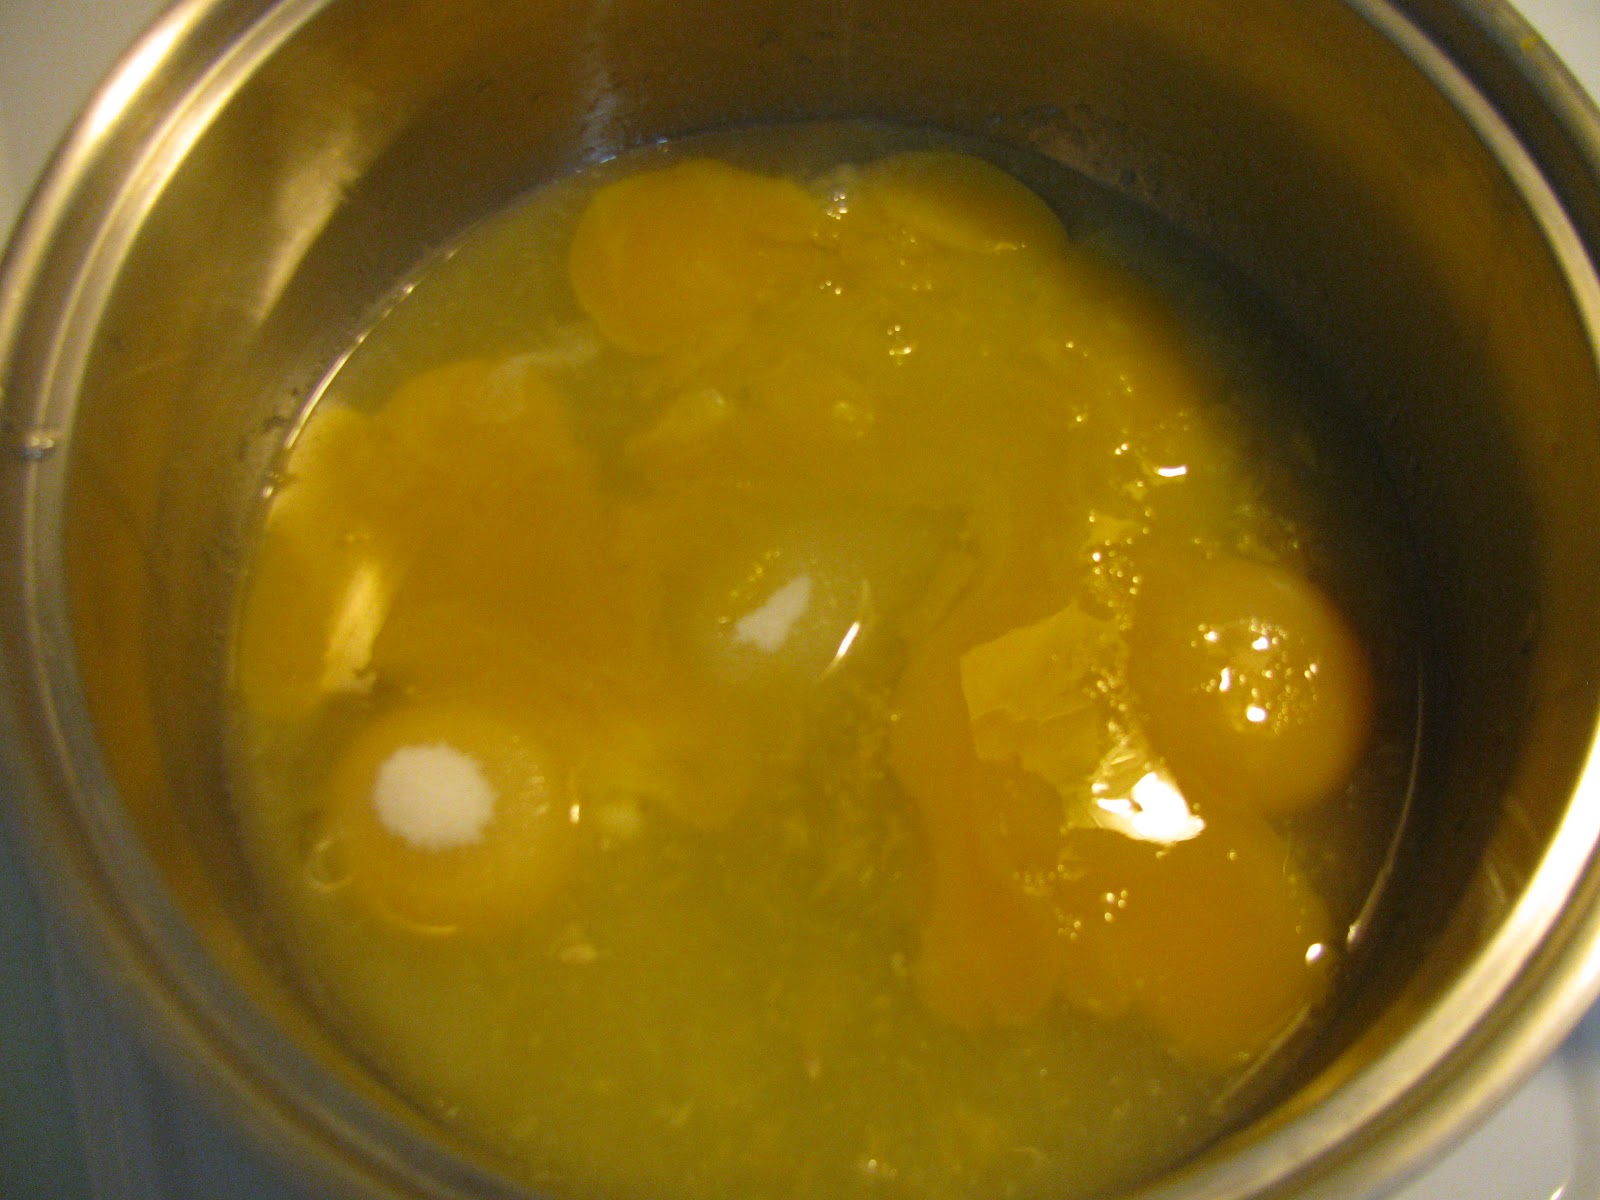
Combine egg yolks, lemon juice, lemon zest and sugar in a small sauce pan.   Cook over medium heat, stirring constantly with a wooden spoon, until thick. The curd should be thick enough to cover the back of the spoon, about 5-7 min.

Poor the curd into a shallow pan and cover with plastic wrap; directly on top of the curd to keep a film from forming.  Wrap tightly with plastic over the top and refrigerate until cooled.

FROSTING

1 cup softened butter
2 tsp lemon zest
5-6 cups powdered sugar
2 oz fresh lemon juice
6 tbsp whipping cream
1/2 tsp pure lemon extract
2 tbsp water
Pinch of salt
Yellow food coloring, optional

Cream the butter and lemon zest in a bowl, about 3 minutes. Slowly add the powdered sugar, mixing on low speed about 2 minutes.  Add remaining ingredients and mix on high for 3-4 minutes until fluffy.

Layer the cake with the lemon curd between the layers. This is kind of tricky. I frosted the edges as I was doing this to keep the curd from oozing down the sides. Finish frosting after you've layered it all. Garnish as you please. I was so tired from being in the kitchen all day, I just sprinkled with some yellow sugar and added some lemon rind. Worked for me!
ENJOY!
It's SO good!


Monday, February 27, 2012

Let Your Heart SOAR!

I may have failed miserably at my 30 day challenge of things I love, but I DID finally complete this collage! And...I must say I LOVE it! My life has been quite stressful this past month, so this was my escape. I got lost in a sea of *delightfulness* and tuned out all that "other" ugly stuff. You should have seen the mess I made! In my world, one cannot be creative without making a huge mess. It also forced me to organize my studio, which is spread out between my office and guest bedroom. I dug through plastic storage containers and boxes and the stuff I found that I forgot I had make me scream with joy! BEAUTIFUL fabrics and books and patterns to inspire and cure whatever might ail you! Now, if I can just calm myself from the circuit overload I'm feeling and move on to the next project, I'll have it made!


The idea for this collage came from my previous post about the layered heart. It just reminded me of a kite and I envisioned a smaller version being flown by a paper doll! This paper doll is an original, not a copy, from the 50's or 60's I'm guessing. She even has an old piece of cellophane tape around her wrist, which looks like an ace bandage! I pretty much covered it up with her kite string, though.

Isn't she the sweetest thing?

She's flying her *heart* kite and letting it *soar*
The sun is vintage flocked wallpaper and half a doily I spray painted.

I found these letters in my stash and wired them together with rusty wire. 

There are so many fun elements to this; paper, fabric, ribbon, lace and all sorts of little doodads!

I had so much fun with these little houses. Just snipped paper in various sizes. The windows are plaid ribbon!

Even added a little *doodle* here and there!

Oh, that tiny ric rac!

The finished project!


I hope you let your heart SOAR!


Wednesday, February 15, 2012

Red Velvet + Cream Cheese = One Happy Camper!

Just let me start off by saying you may want to double this recipe and use a bigger pan. An 8" square of this delectable confection is NOT enough. If I'm going to put myself into a sugar coma, I'm going all the way, so next time it will be a 9" x 13" pan!


I found this recipe for *Red Velvet Cream Cheese Brownies* on Pinterest. It was pinned from The White Library. If you're not *pinning*, you're missing out. It's a fun way to save things you love and find GREAT ideas, recipes, you name it and you can find it on Pinterest! Here's a fair warning, though, it can be highly addictive!

It's a super easy recipe. I didn't have dark *baking* chocolate, so used Hershey's Special Dark candy bars. The recipe didn't specify baking chocolate, so it was just an assumption I made. Anyway, they came out delicious! Mine didn't look quite as dense as the those in the recipe. Mine were really kind of light and fluffy! REALLY good!

I also didn't have an 8" square *metal* pain, so used a round metal cake pan. Not sure that *metal* is crucial or not. So, without further ado, here is recipe...remember, BIG pan! :)


Ingredients:
  • 1/2 cup butter
  • 2-oz dark chocolate, coarsely chopped
  • 1 cup sugar
  • 2 large eggs
  • 1 tsp vanilla extract
  • 1 1/2 tsp red food coloring
  • 2/3 cup all purpose flour
  • 1/4 tsp salt
  • 8-oz cream cheese, room temperature
  • 1/3 cup sugar
  • 1 large egg
  • 1/2 tsp vanilla extract
Directions:
  1. Preheat oven to 350F. Butter the bottom and sides of a 8 inch metal baking pan. Put a long piece of parchment paper in the bottom of the pan, letting the parchment extend up two sides of the pan and overhang slightly on both ends. (This will make it easy to remove the bars from the pan after they have baked.) Butter the parchment.
  2. In a small, heatproof bowl, melt butter and chocolate together. Stir until combined and very smooth. Set aside to cool for a few minutes.
  3. In a large bowl, whisk together sugar, eggs, vanilla extract and red food coloring. Add chocolate mixture and stir until smooth. Add flour and salt and stir until just combined and no streaks of dry ingredients remain.
  4. Pour into prepared pan and spread into an even layer.
  5. To prepare cheesecake mixture, beat cream cheese, sugar, egg and vanilla extract in a medium bowl until smooth. Distribute the cheesecake mixture in 8 dollops over batter in the pan. Swirl in with a knife or spatula.
  6. Bake for 35-40 minutes, until brownies and cheesecake are set. A knife inserted into the cheesecake mixture should come out clean and the edges will be lightly browned.
  7. Let cool completely in pan on a cooling rack before lifting out the parchment paper to remove the brownies.